Build A Timber Deck, Save The Earth Blog Build A Timber Deck, Save The Earth Building that timber deck does not just increase the value of your property and give…SoftwoodsApril 15, 2019
The Benefits Of Building With Timber Blog The Benefits Of Building With Timber Are you thinking of building a deck, a pergola or some other outdoor living extension?…SoftwoodsMarch 18, 2019
Jambu Timber: An Alternative To Merbau For Decking Blog Jambu Timber: An Alternative To Merbau For Decking Jambu timber is a viable alternative to Merbau for decking boards and building other outdoor…SoftwoodsMarch 4, 2019
How To Choose Your Decking Material Blog How To Choose Your Decking Material Adding a deck to your property offers many advantages and benefits. How do you choose…SoftwoodsFebruary 4, 2019
Outdoor Extensions Should Be Made From Timber Blog Outdoor Extensions Should Be Made From Timber Timber is the building material of the future and here’s why your deck, pergola, patio…SoftwoodsJanuary 23, 2019
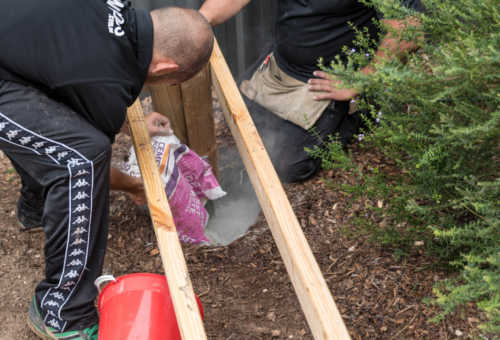
Build A Pergola – Post Cement Blog Build A Pergola – Post Cement Securing pergola posts is an important concern when you build a pergola. In this video…SoftwoodsNovember 21, 2018