The key to a durable and long-lasting deck lies in the attention and care given to assembling its substructure. While Softwoods deck and pergola kits are designed to be easily assembled by even the greenest DIY enthusiasts, we have made sure that our kits also provide durability, moisture resistance, stability and freedom from costly future maintenance.
Before You Start
There are a couple of things you need to have before you get started installing your decking substructure. First, make sure you have all the necessary tools to work with your decking kit. Check out our blog post on the essential tools for building your deck. Next, you need to prepare and mark out the site where you plan to build your deck. Review our blog post on site preparation and marking out for details.
Check Your Materials
Your decking kit comes with a materials list pack and you must check that you have received everything indicated there. Also check the plan layout provided for your specific project.
The kit itself should consist of stumps, panels and decking. For the substructure, your concern will be the stumps and the panels.
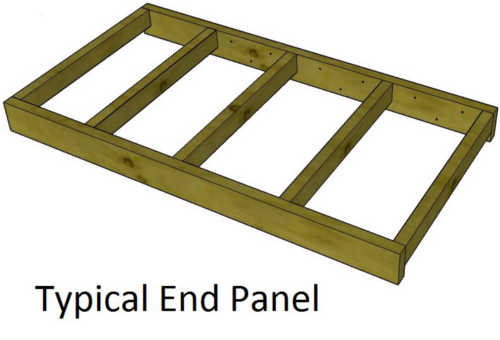
The panels have been pre-cut and assembled in our factory, based on the design you submitted to us, and approved by your Council. There are three types of panels, clearly marked by letters and numbers corresponding to labels in your panel layout plan.
Starting Panels will be marked “S” while Middle Panels are marked “M.”

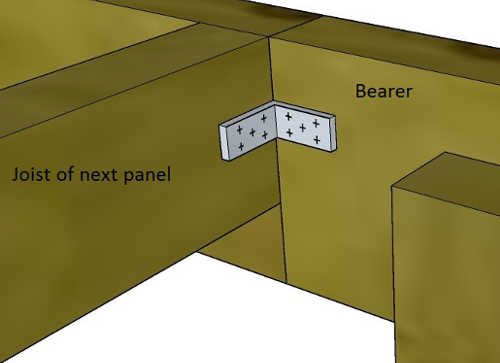
End Panels are marked “E” and look a little different from Starting and Middle Panels because they have the end joist attached. The Starting and Middle Panels do not have this end joist because they use the starting joist of the next panel for this purpose.
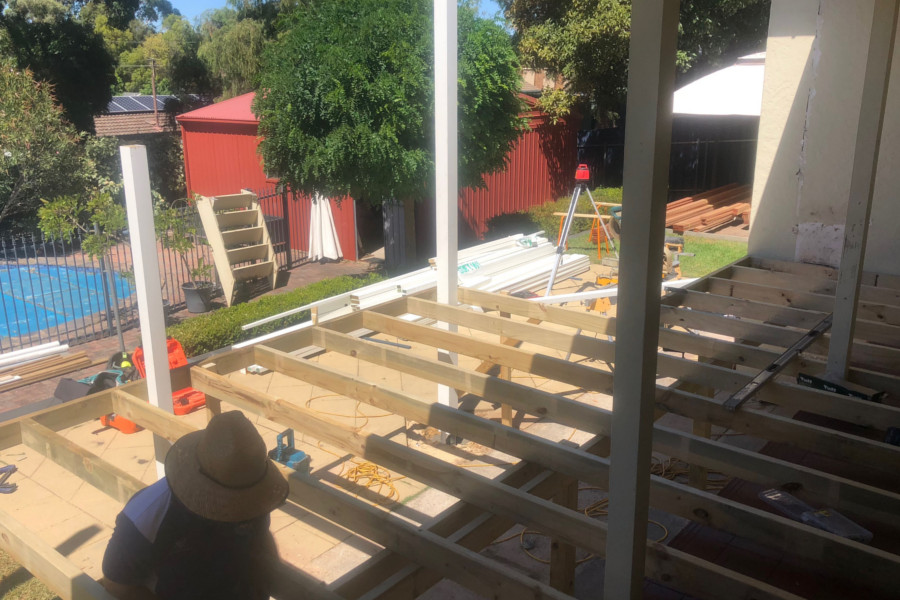
Lay Out the Panels
When you have sorted out all the panels, the next step is to lay them out according to how they will be positioned. Check your layout plan and match the labels to make sure each panel goes into the right spot. You may discover that a few of the panels need trimming around services or obstructions. If no adjustments are necessary around these obstructions, you can block around them using the spare joists and give the decking boards something to attach to later. You must make sure that the joists in the panels line up perfectly with the next panel.
Locate Stump Positions
Your kit comes with standard-length stumps you will most likely need to cut shorter so that you do not need to dig holes deeper than they need to be. The stumps need to be set at least 250mm into concrete and each one requires at least 150mm of concrete underneath it.
Set the stumps 100mm from the end of the panels so you can make room for the brackets. At this point you do not yet need to set the stumps into concrete.
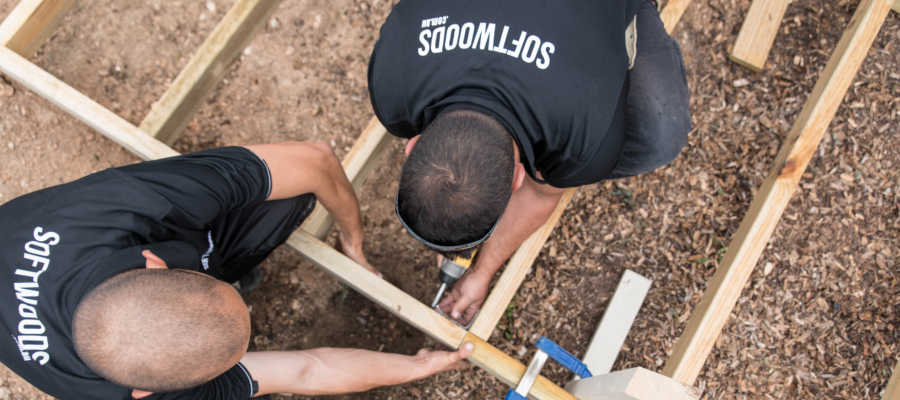
Fit Stumps and Connect First Row of Panels
Now fit the stumps to your first row of panels. It is important that you only do this to the first row for now. Get your stump into position on the bearer and clamp it in place. As mentioned earlier. the stumps must be set back from the end of the bearer by 100mm and stumps on the first row must be inside the panel.
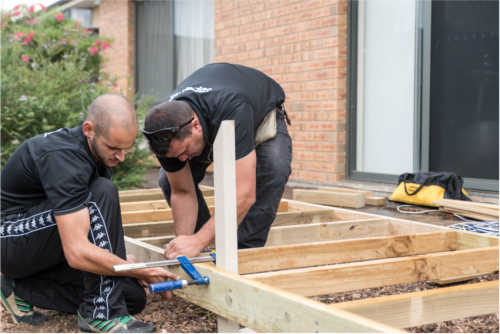
You can use the other stumps and clamps to help balance the panel. Once in position you will need to use a 10mm drill bit to drill 2 holes through the bearer and through the stump while continually checking levels and squareness. The bolt heads on the outside panels need to be counter-sunk so you will need a counter-sinking drill bit. This allows the cover piece to be fitted later. Then fit the bolt through stump and bearer making sure the nut is on the outside of the panel if it is going up against a wall. Once you have all your first row of panel stumps fitted you can start to connect the panels together, this is easiest if they are propped up with other stumps.
The panels are connected end to end with BAB brackets which are the small L shape brackets you will find in your hardware. Use 5 chipboard screws per face of bracket, with 2 brackets per panel. It is vital that the panels are flush on the top so the decking is level when installed later.
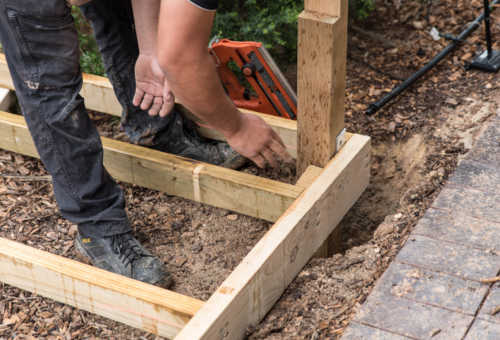
Once you have connected the first row of panels into one big panel it is time to concrete the stumps in. The concrete needs to go around the base of the stump so you cannot just sit the stump in the bottom of the hole; it needs to be above the soil. You can do this by building it up with some brick or paving off cuts or you can prop the panels up around the perimeter with timber off cuts or other makeshift props.
Once you are sure the panels are level and at the correct height with your string line you can go ahead and concrete the stumps in. You can use normal pre mix concrete, but using rapid or quick set will let you work on the deck sooner. Be sure to follow directions on the bags, you should need about 2⅓ bags per hole.
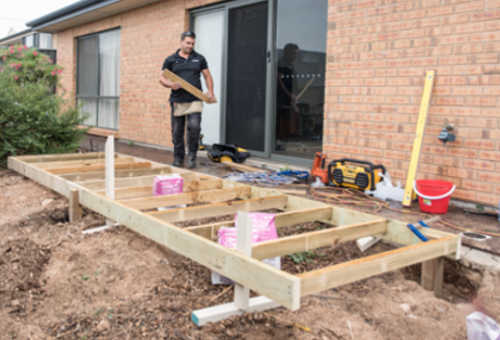
Install Remaining Panels
Now that you have a solid starting point with your first row of panels you can install the remaining panels. The panels connect side by side by screwing 75mm bugle screws in a zigzag fashion 200mm apart through one bearer and into the next. This is called laminating.
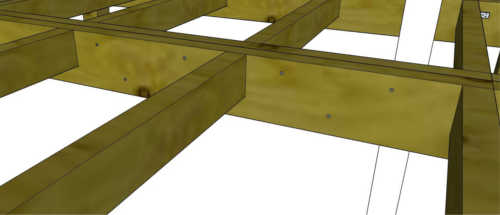
It’s a good idea to keep the props on whilst doing this and use the other stumps to hold up the other side of panel. Once the panels are laminated together you can fit your stump and the BAB Brackets just as you did previously. This time the bolts need to go through both panel’s bearers, so you will need the 150mm bolts. Use 2 bolts per stump. For the outside panel use the shorter bolts like the first row as there is only one bearer to go through.

Once you have fitted the stumps you can go along and concrete them in. Remember to check your levels regularly and continue to check that the structure is square as this is vital for laying the decking. The rate at which you concrete the stumps will depend on the number of props you have but since you have already concreted your first row, you will find that once the panels are laminated and fixed together the structure becomes quite solid.
For more step-by-step information on how to build a complete deck, check out our earlier 3-part series posting, “How to Build a Deck.”