Here are the essential tools you will need to build a deck or pergola.
Tape Measure
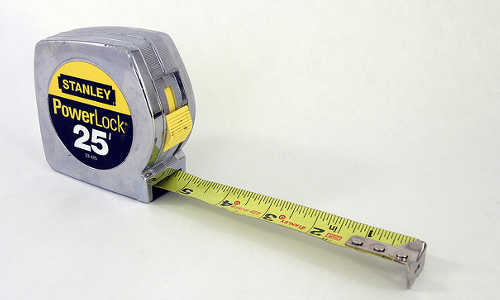
Size
There are certainly some benefits to procuring big tape measures. The larger case tends to be more durable and can more readily withstand being dropped, stepped on and kicked around. Thicker- and wider-bladed tape measures also stretch out farther before they bend, making them easier to work with when distances between points are significant.
On the other hand, long, thick tapes may be unwieldy and cumbersome when used in tight spots or workshop situations. For small DIY projects, long and thick tape measures may be totally unnecessary and even excessive.
Hook Type
The tape measure hook lets you hang the tape along the edge of the surface you need to measure and lets you square up the tape against the opposite wall. You may think this mechanism is the same for all tape measures. Or you may have never thought about it at all. Regardless, the hook may differ greatly among different devices.
Inexpensive tape measures will have a simple hook that latches on one end of the surface you are measuring and lets you read the measurement from above. More sophisticated models feature hooks that allow the user to anchor the tape from any direction, allowing the user to read measurements also from any direction, useful when working alone or in difficult spaces.
Accuracy
Tape measures fall under one of four classification types for accuracy. The instruments you buy at a DIY typically comprise the first class of tape measures. They have not been tested against a recognized standard and so are “unclassified”.
Class III is the lowest officially recognised level of accuracy.
Class II include the tapes manufactured by the well-known tool manufacturers such as Stanley, Draper and other big names.
Class IV are the most accurate tape measures available in the market.
Units of Measurement
Most measurements here in Australia are metric (centimetres, metres) and most tape measures in the market reflect this. However, in case you need to work with Imperial measurements (inches, feet, yards, etc.), you should easily be able to find tape measures that feature both systems.
Blade Material
Steel, stainless steel and fibreglass are the common materials used in manufacturing tape measures. Steel is durable and versatile and therefore provides great value, but different manufacturers use different thickness, width and protective coatings. Stainless steel is less common, less durable and pricier, but offers corrosion resistance. Fibreglass is flexible yet resistant to stretching, heat, water, and tearing.
Locking Mechanism
There are two types of locks used by measuring tapes. Conventional blade locks require you to engage a mechanism to lock the blade at the length it has been stretched out. Autolocks lock the blade to whatever length it is extended to.
Pencils

String Line
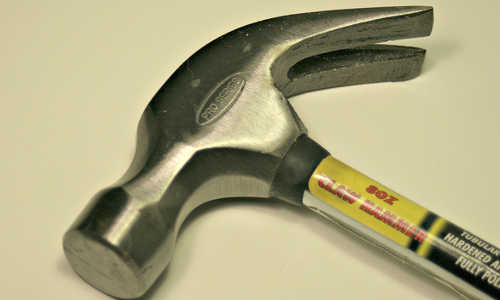
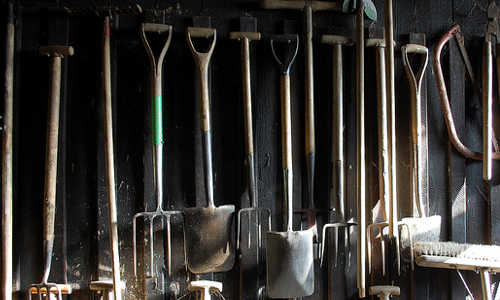
Hammer
Ball-peen hammer – Considered the best hammer for working with metal, it is used mainly for chisels and striking punches.
Sledgehammer – This heavy duty hammer is used to break concrete or to drive heavy spikes into the ground.
Claw hammer – This is the most popular hammer for woodworking. The hammer end bashes nails into wood, and the claw end can be used to pull nails out.
Hand drilling hammer – This short-handled hammer is used to drive masonry nails into concrete or brick.
Tack hammer – This is a small hammer used for delicate work, usually to secure fabrics.
Clamps
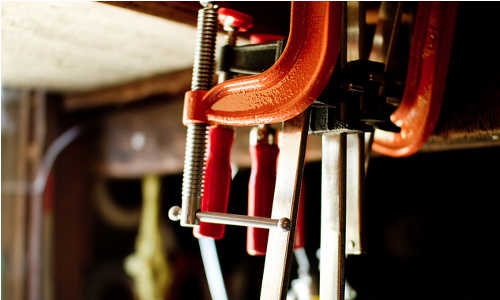
You can get started by procuring various sizes of C-Clamps; these will equip you for most of your DIY projects. Later you can think of expanding your clamp arsenal by adding pipe-clamp fixtures that provide immense pressure to handle large clamping requirements, and versatile Deep-Throat Bar Clamps that combine the power of pipe-clamp fixtures with the deep reach of C-Clamps.
Other types of clamps include Handscrew Clamps, One-Handed Bar Clamps, Spring Clamps, Ratchet-Action Bands and Miter Clamps.
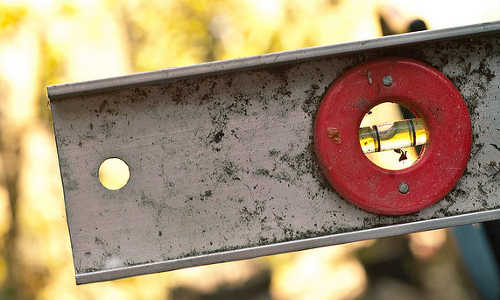
Level
Spade
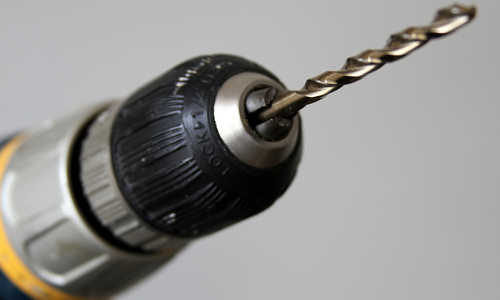
Drill and Bits
Cordless or Corded
Cordless drill power is indicated in volts. For most DIY requirements, a cordless drill in the 12 – 16 volt range should be enough. Note that the higher the voltage, the heavier the drill.
The power of corded drills, on the other hand, is measured in amps. The higher the amperage, the more powerful the drill. An 8 amp drill should be enough for most of your DIY needs.
Speed
Slow drill speeds are useful for driving screws, while the high speeds are for drilling holes. If you plan to use your drill mainly to drill holes, then all you need is a single speed drill. If you plan to drive screws as well, a drill with multiple speed options will serve you well.
Clutch
Clutch is the drill’s reaction to resistance. It helps to prevent the screws from being driven too deep and being stripped. If you plan to use your drill to drive screws, figure on getting one with an adjustable clutch.
Chuck
The chuck is where you insert the bit into the drill, and drills come with a variety of chuck sizes. The larger the chuck, the more suitable the drill is for heavy duty work. But for most DIY needs, a ⅜ inch chuck should be enough.
Forward/Reverse Switch
The reverse direction lets you use the drill to remove screws as well.
Saw